
How do I set up my Clay integration?
Create a Webhook source in a Clay table, then paste its URL into a new Clay integration in Evaboot. Once connected, Evaboot sends your export and email results straight into your Clay table.
Before you start
Section titled “Before you start”- A Clay account where you can create workbooks, on the Growth plan or above. Clay’s Free and Launch plans do not include webhooks.
- Evaboot open at dash.evaboot.com/dash/integrations/.
In Clay: create the webhook source
Section titled “In Clay: create the webhook source”- Open a workbook and click + Add at the bottom.
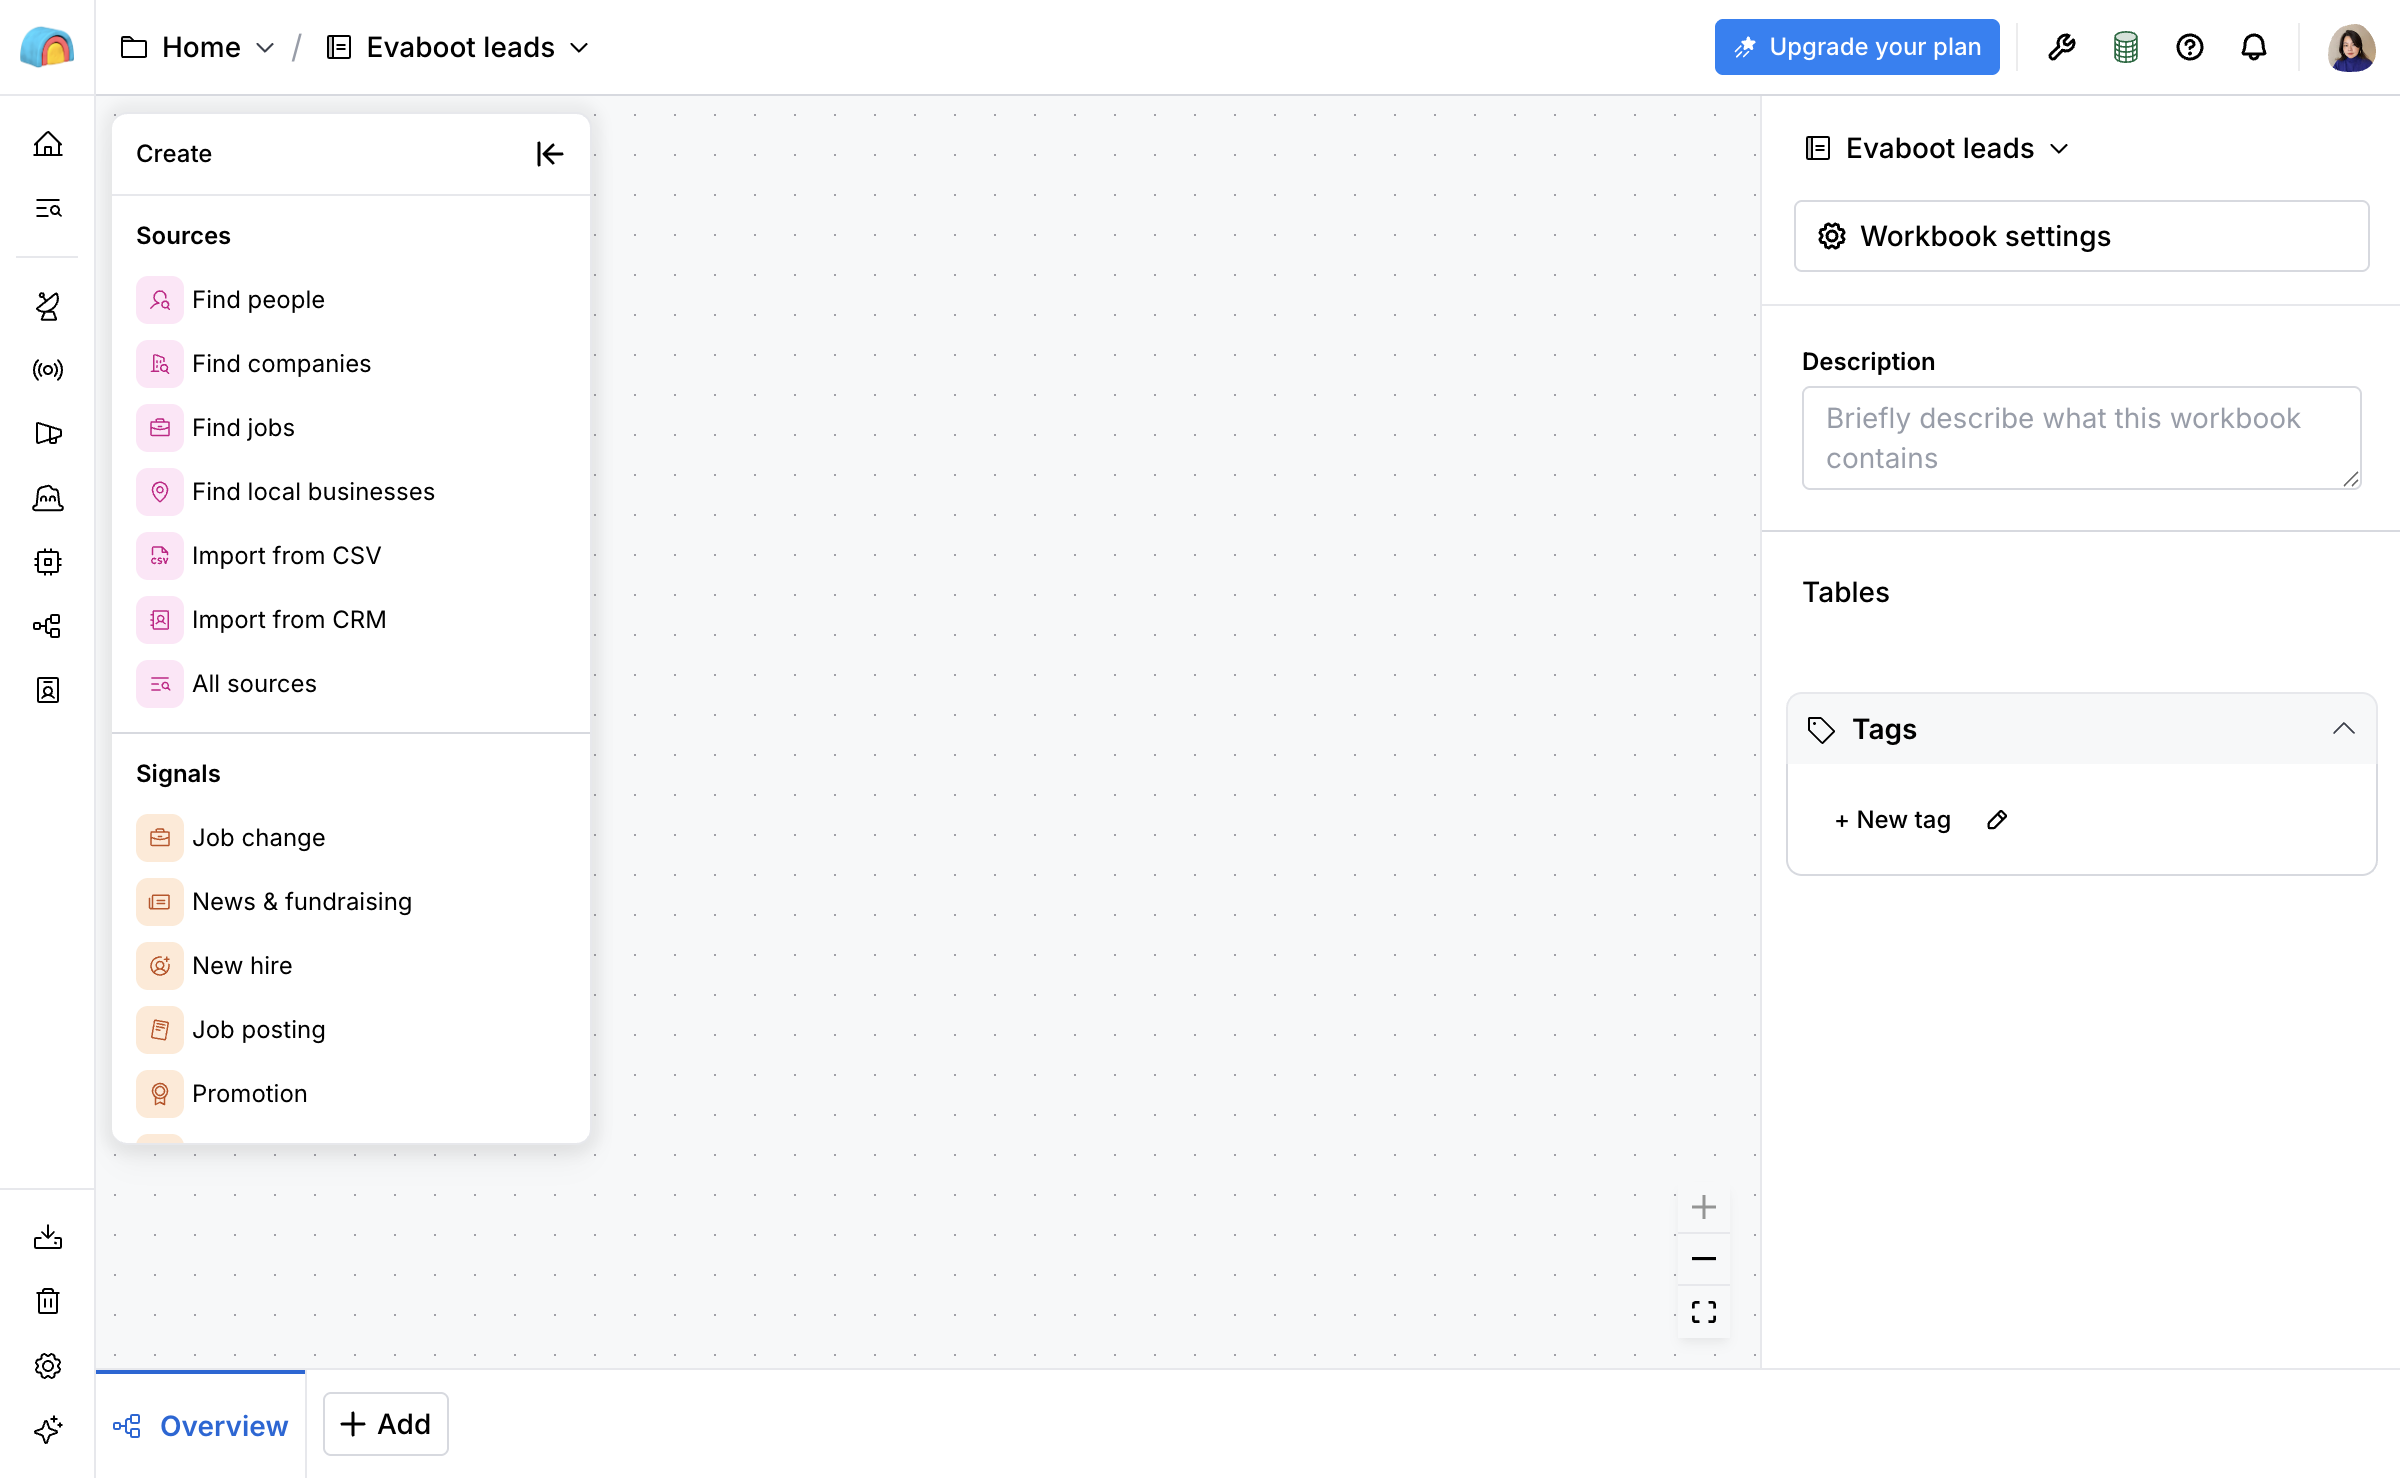
- Search for “Webhook” in the Create new table dialog and select Webhook. Clay creates a table fed by a unique webhook URL.
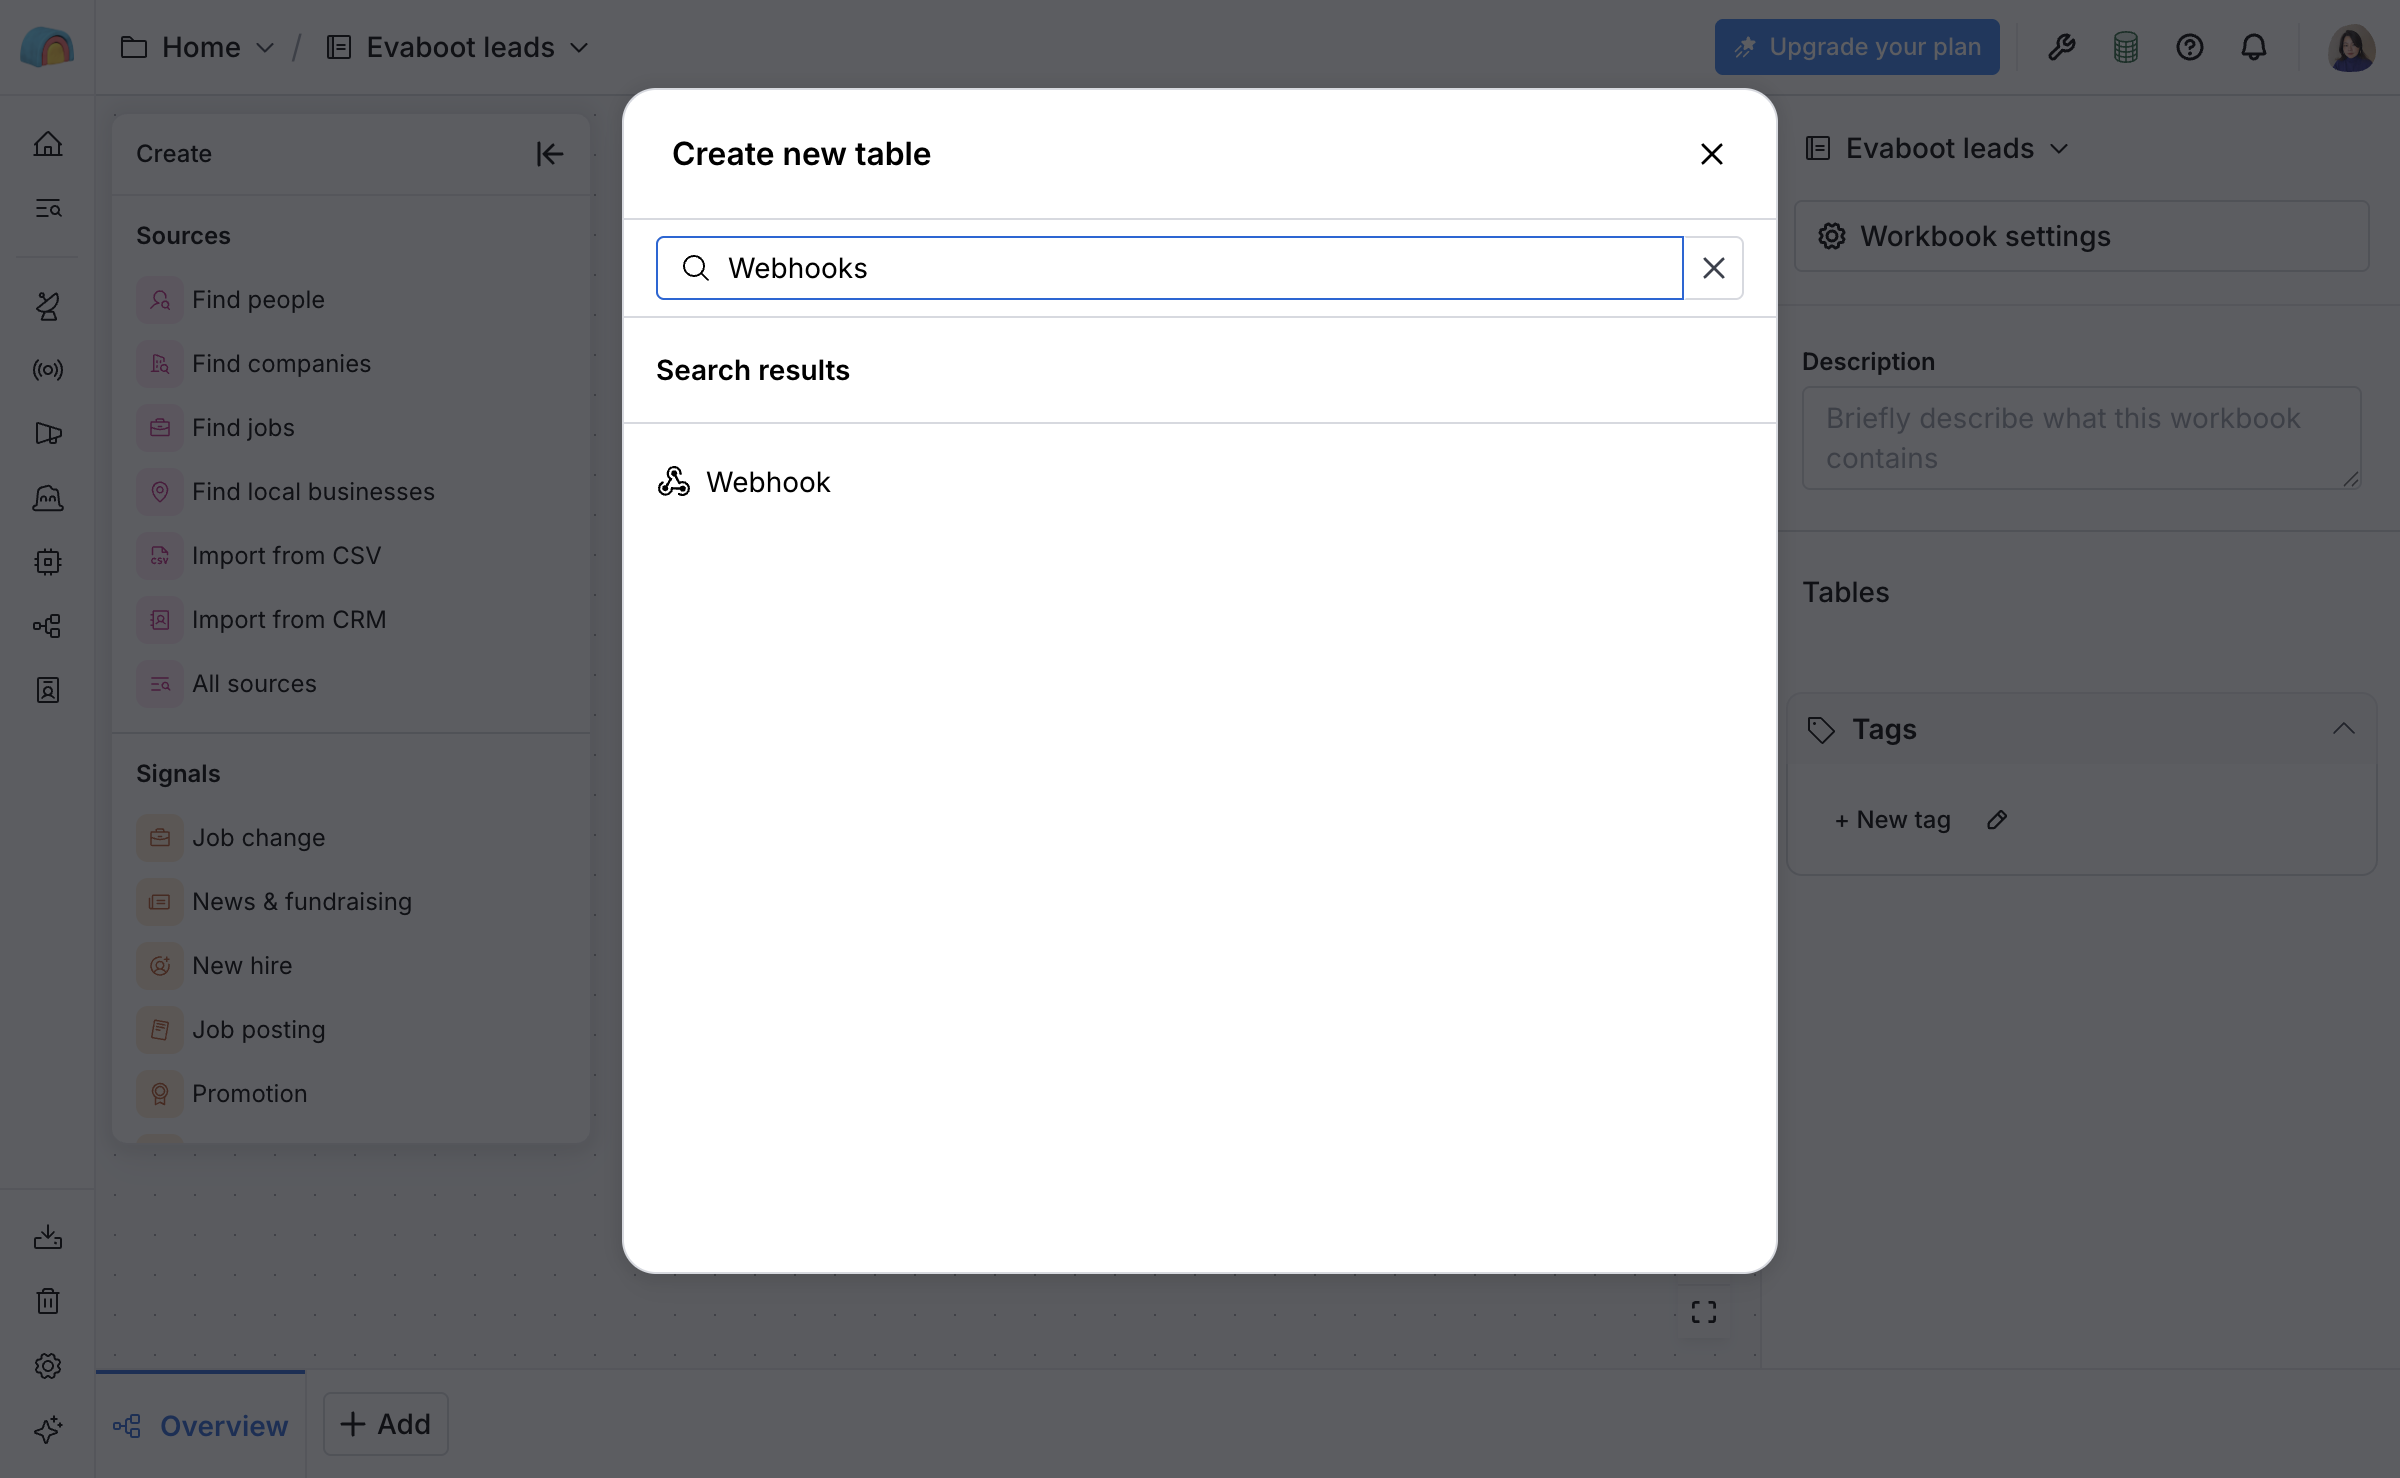
- Copy the webhook URL from the “Pull in data from a Webhook” panel. The
cURLtab shows the same endpoint as a ready-made request.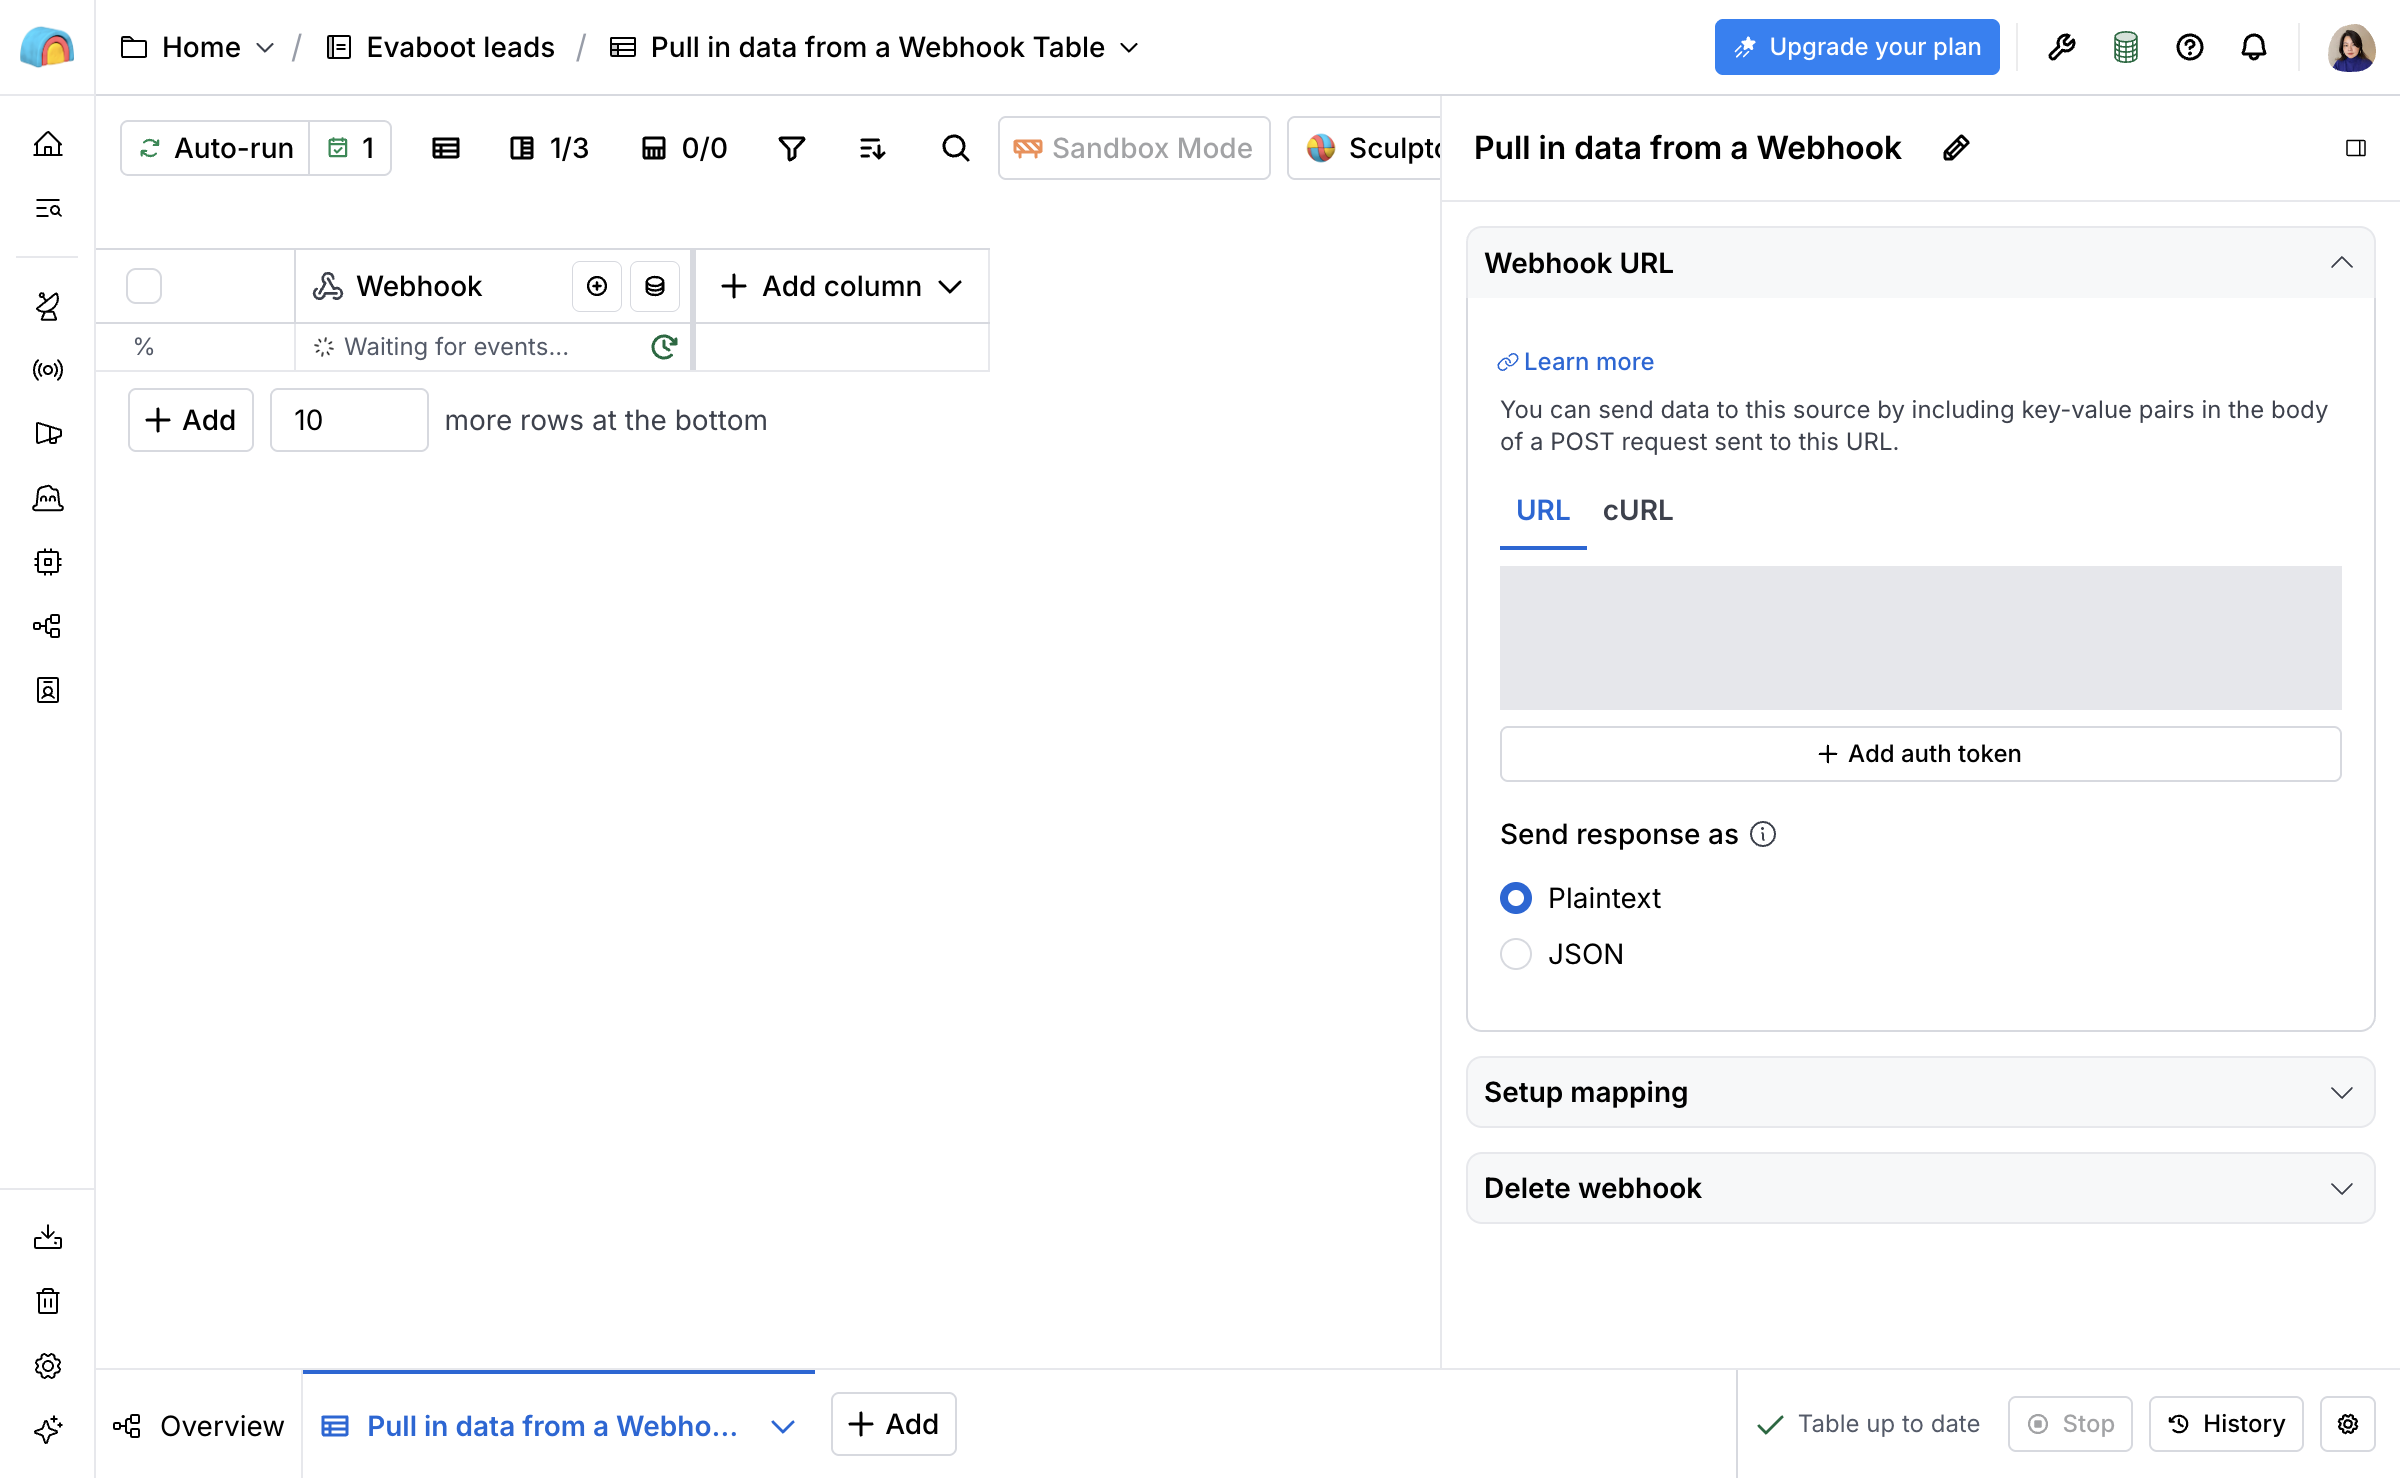
- Optional — authentication token. Click + Add auth token and confirm. Copy the token immediately — Clay shows it only once, and it can take up to 60 seconds to become active. Clay’s panel names the header key
x-clay-webhook-auth— the same header Evaboot sends. Keep the table open — rows appear here as deliveries arrive.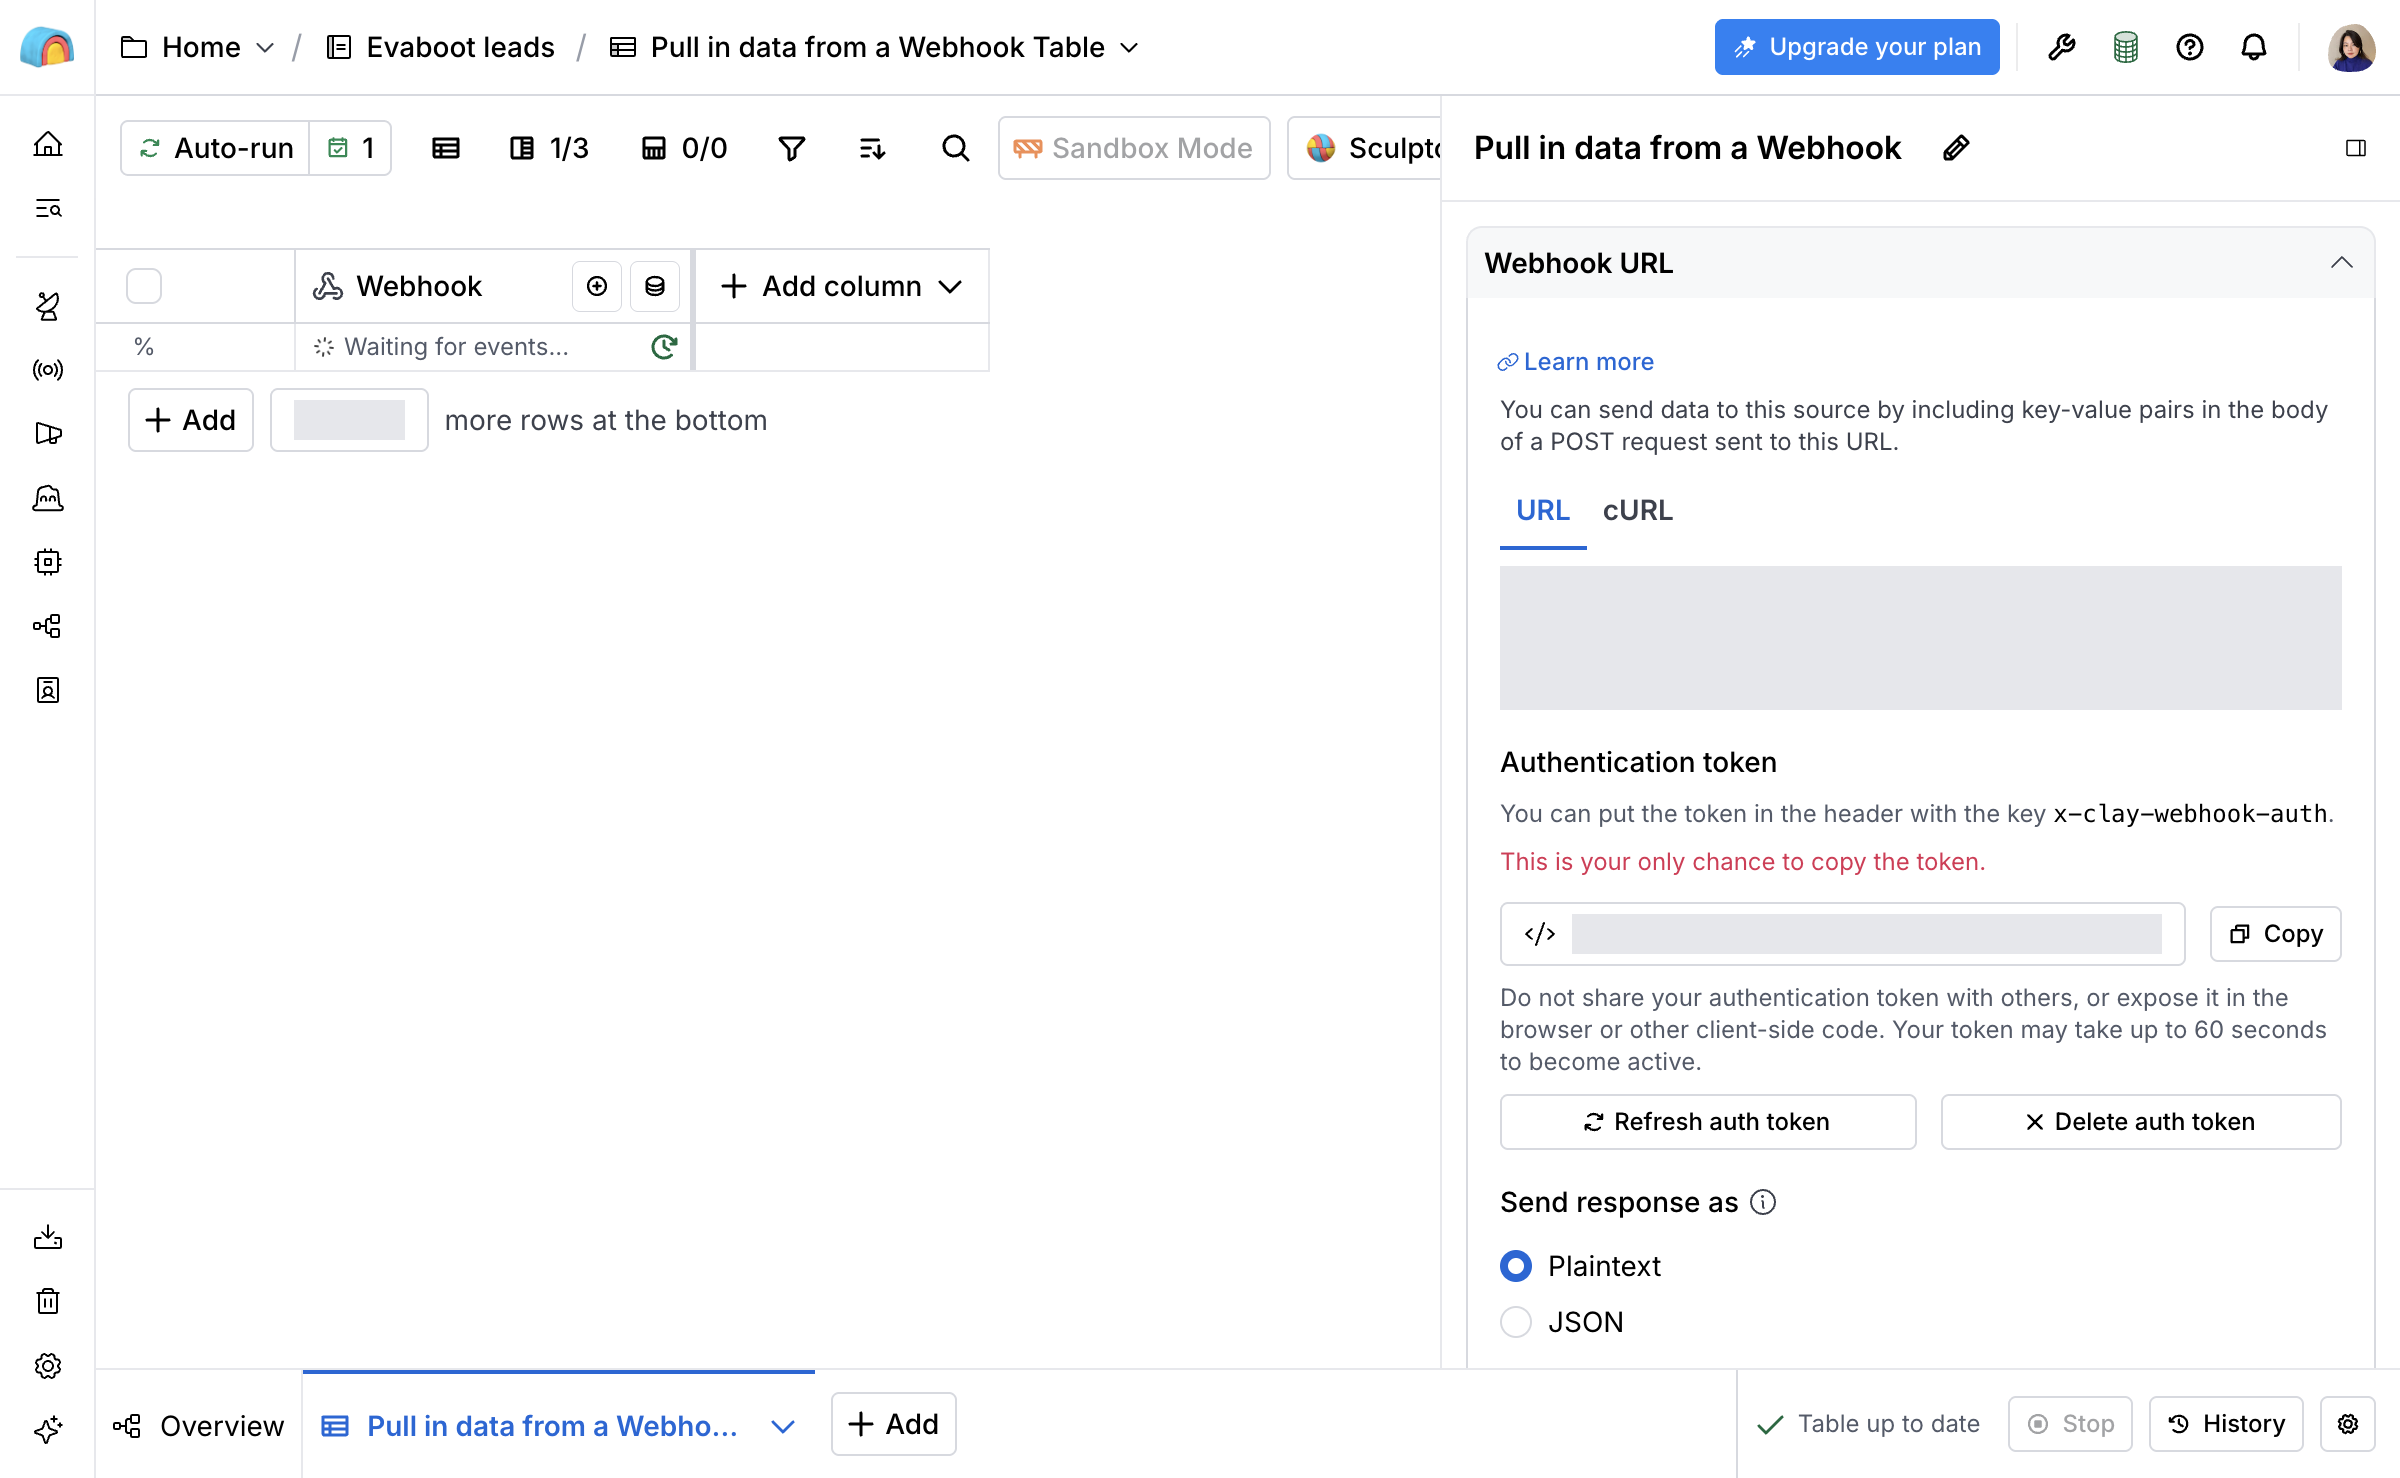
Clay’s own reference: Webhooks in Clay. A Clay webhook source accepts up to 50,000 submissions over its lifetime. After that, create a new webhook.
In Evaboot: connect it
Section titled “In Evaboot: connect it”-
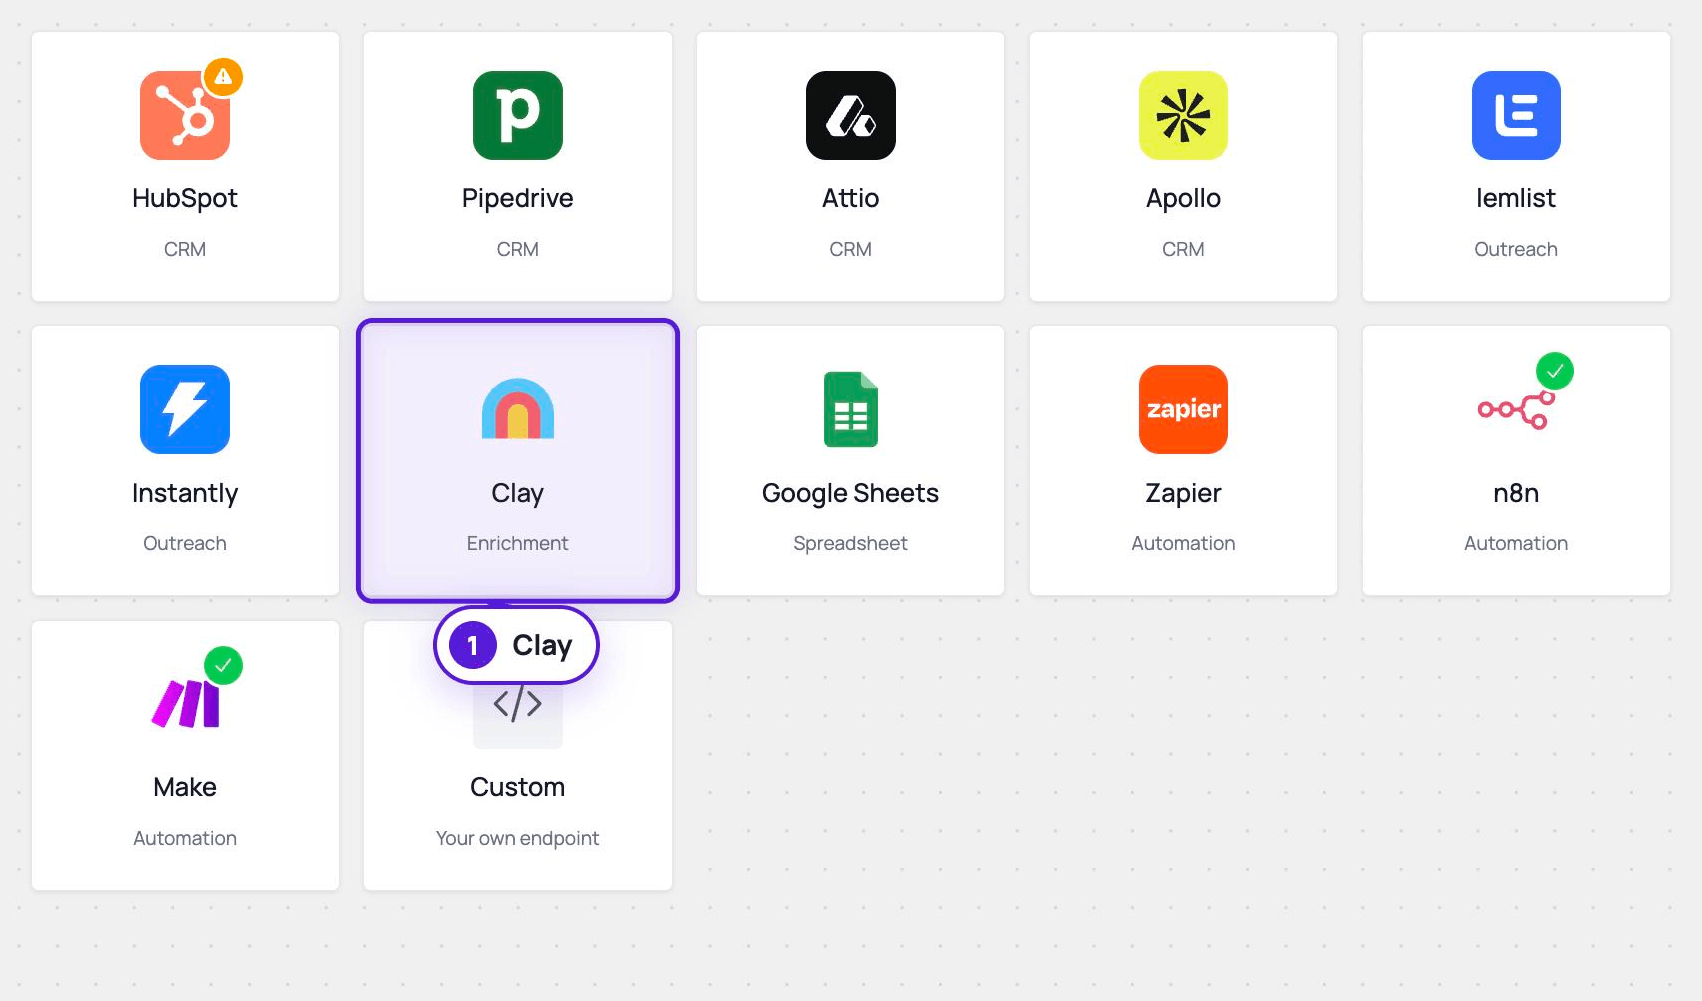
Open Integrations. Stay on the Integrations tab, click New integration, and choose Clay.
-
Name the integration and paste the webhook URL.
-
Optional — auth token. If your Clay webhook uses one, paste it here. Evaboot sends it as the
x-clay-webhook-authheader.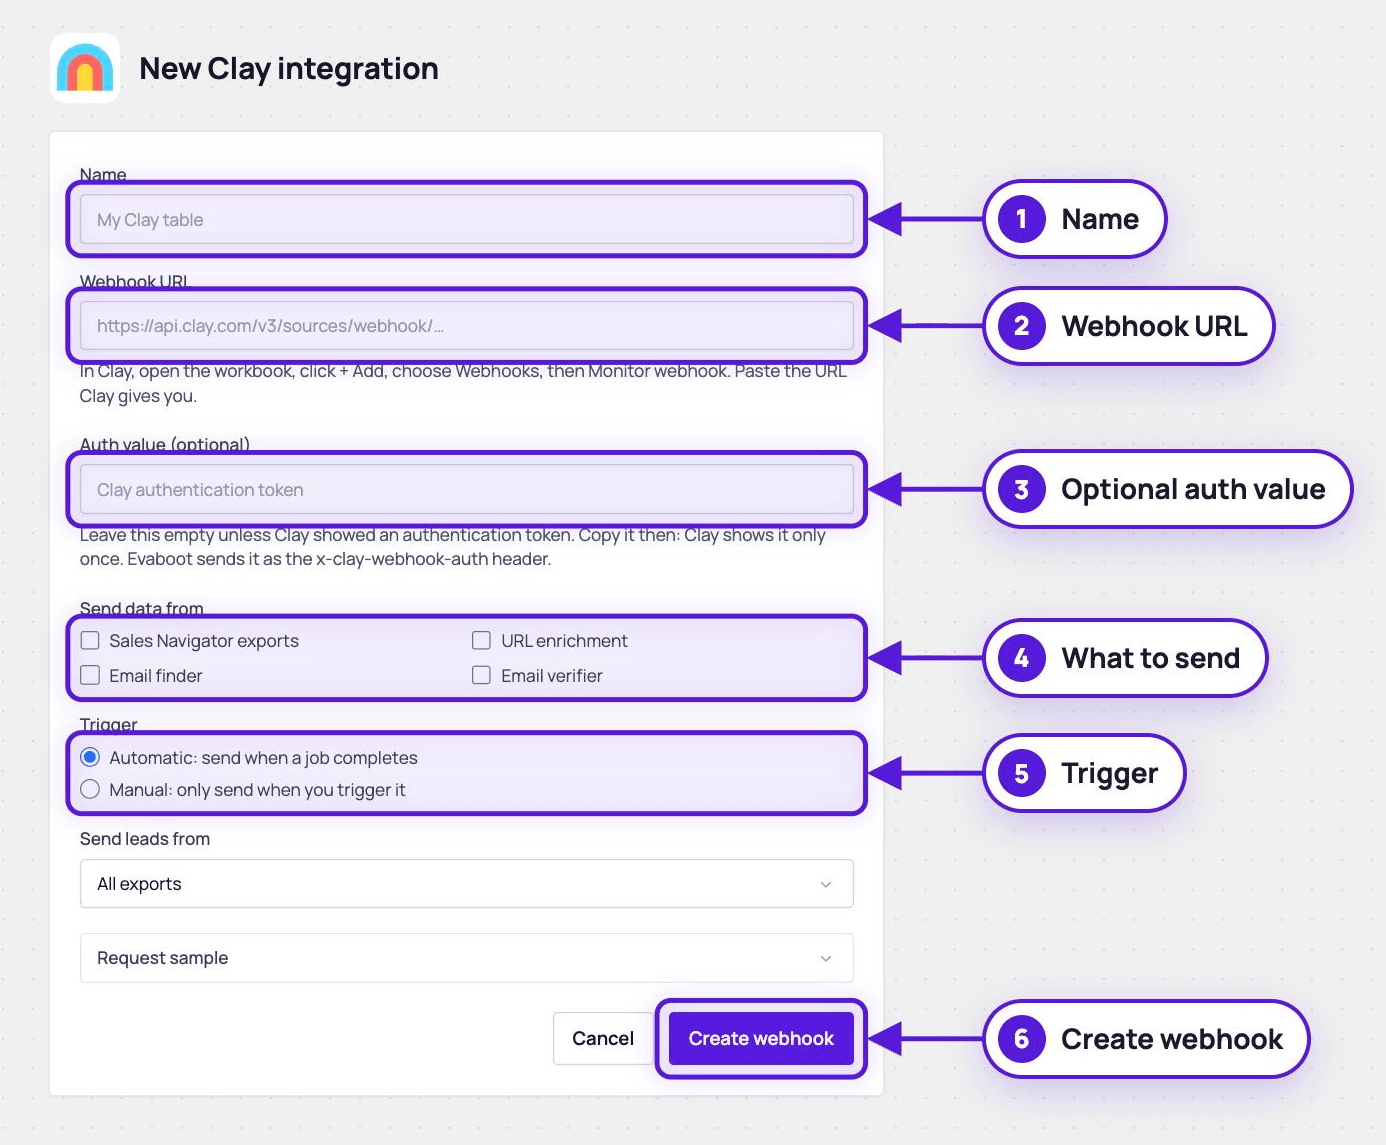
-
Pick what to send.
- Send data from: Sales Navigator exports, URL enrichment, Email finder, Email verifier.
- Send leads from: all exports, all recurring exports, specific recurring exports, or specific folders.
-
Pick the trigger.
- Automatic — sends results as soon as a job completes and is paid. One automatic integration per data type.
- Manual — sends nothing on its own. It delivers when you send a test, or when you click Push this export on a finished export.
-
Open Request sample and pick a data type to see the exact JSON Evaboot will post. Prospects arrive inside a
prospectsarray. -
Click Create webhook.
Test it
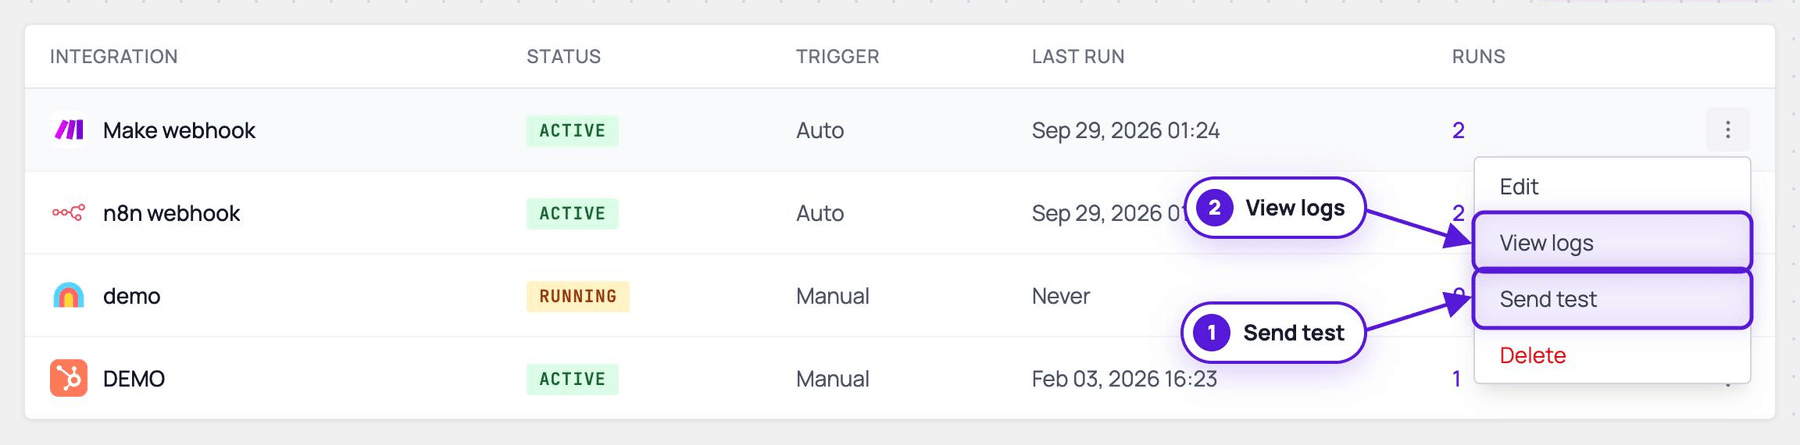
Section titled “Test it”From the webhook’s actions menu in Evaboot, click Send test. A sample payload — fake data, never your real leads — is delivered to your Clay table. View logs shows the delivery with a TEST tag and the HTTP response code — 200 means Clay received it.
Spread prospects into rows
Section titled “Spread prospects into rows”Each delivery carries the whole job, with the leads inside the prospects array — one webhook submission per job, not per lead.
To give each prospect its own row, use Clay’s write-to-table action on the received data:
- Take action on the
prospectslist. - Write each item to a new row in a target table.
- Add the fields you need as columns.
The steps live in Clay’s webhook guide.
If it didn’t work
Section titled “If it didn’t work”- “Non-2xx response or transport failure” — check the logged response code. Confirm the URL is the Clay webhook URL.
- 401/403 in the logs — the auth token in Evaboot doesn’t match the one on the Clay webhook. Clay shows a token only once — if you no longer have it, create a fresh webhook and update the integration.
- Rows don’t appear — check the webhook source in Clay received the delivery. Then check how the received data is written to the table.